


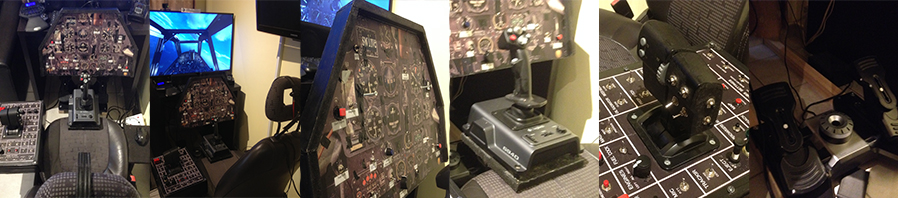
It's probably better I start my own thread for the conversion of my Cougar throttle, so this is it.
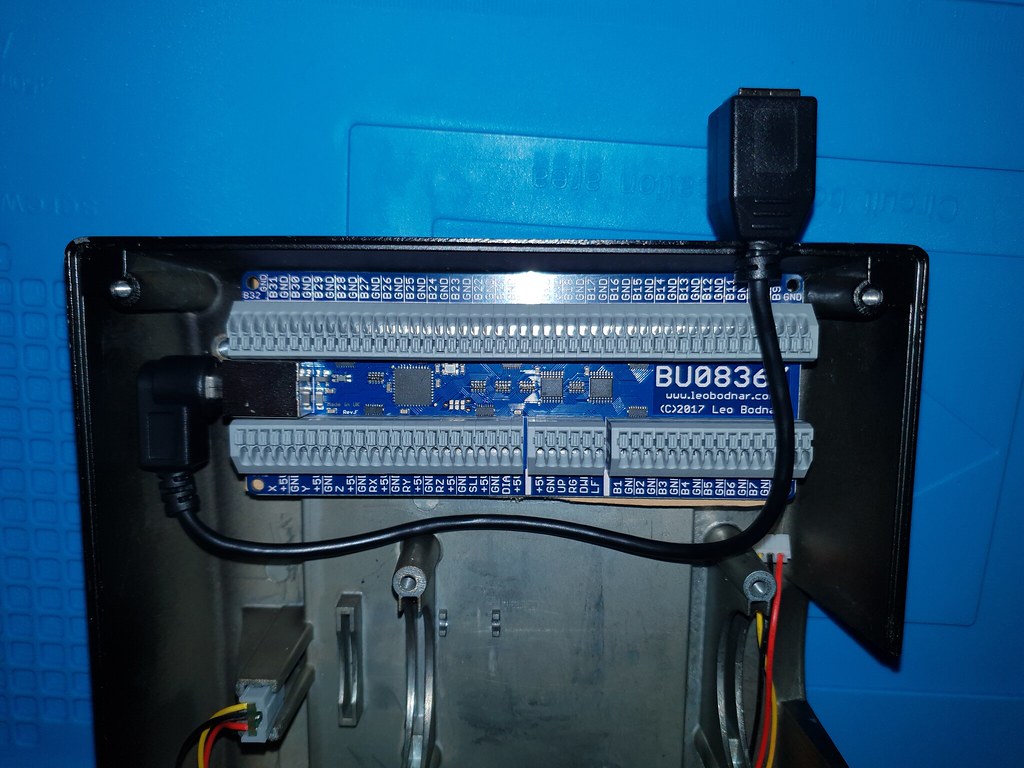
I've had my Cougar since day 1 - I pre ordered. Since then, like probably almost every other Cougar HOTAS it's had several repairs & modifications to keep it working. But as I'm now going to replace the wobbly old joystick with a Virpil, I need to make the throttle a standalone unit. Ideally I would have just bought a TUSBA & that would be that sorted, but due to a rushed attempt at replacing the throttle axis pot with a hall sensor, the PCB inside the throttle base is unusable due to broken tracks & fried diodes. Thrustmaster don't have any replacements so I need to completely replace all the circuitry in the throttle, and thanks to the input of you fine fella's, I have decided the Leo Bodnar BU0836X joystick controller board best suits my requirements. (In other words, from here on, it's all your faults)
The controller board arrived 2 days ago, and I was pleased to find that it slots in the space left by the original PCB quite well. Plugging an 'old-school' straight USB-A connector in would be a tight squeeze unless I Dremel a new opening in the side of the base. Thankfully, Amazon had what I needed with a range of USB cables with angled connectors. I've gone for a short cable housed inside the throttle base with the female end protruding from the aperture for the original connecting cable, to which I can connect a standard USB printer cable. This will keep the whole thing neat & allow me to quickly change throttles on a Monstertech desk mount in anticipation of the Virpil T-50 I will eventually have.
I reckon a couple of squares of sponge glued to the bottom plate will hold everything in place when it's refitted, so no modification is needed to the original housing. Although, if this is successful, I will be adding some more functionality to the throttle as there's capacity in the controller board to do so, and space in the housing for a few more switches & rotaries.
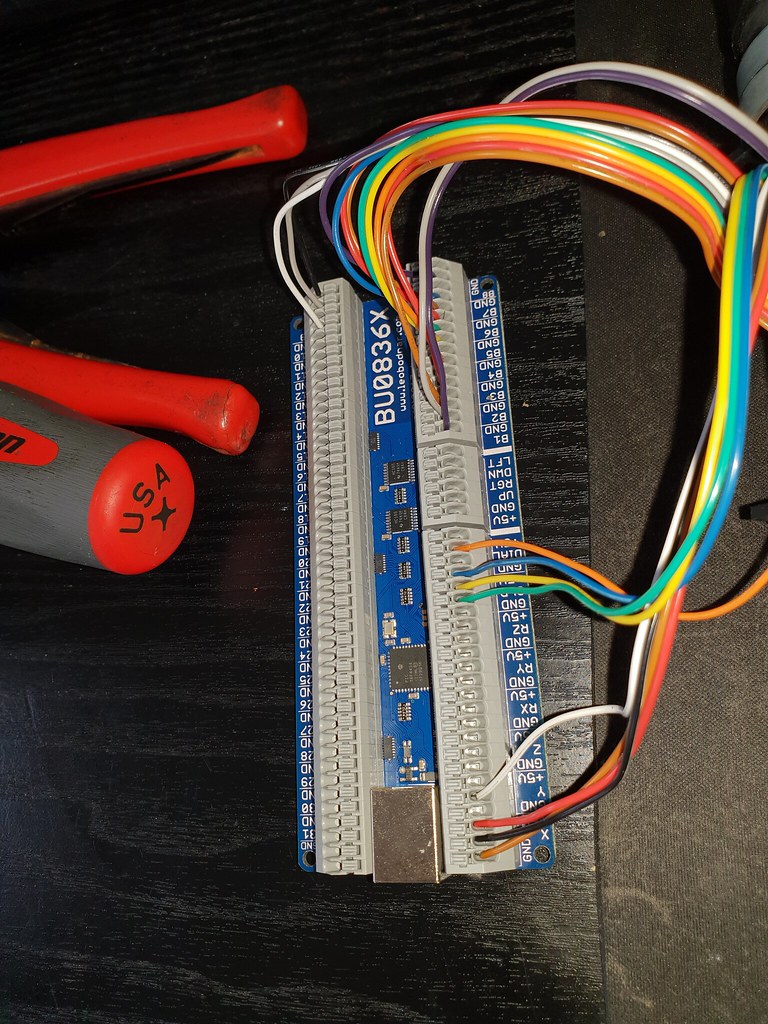
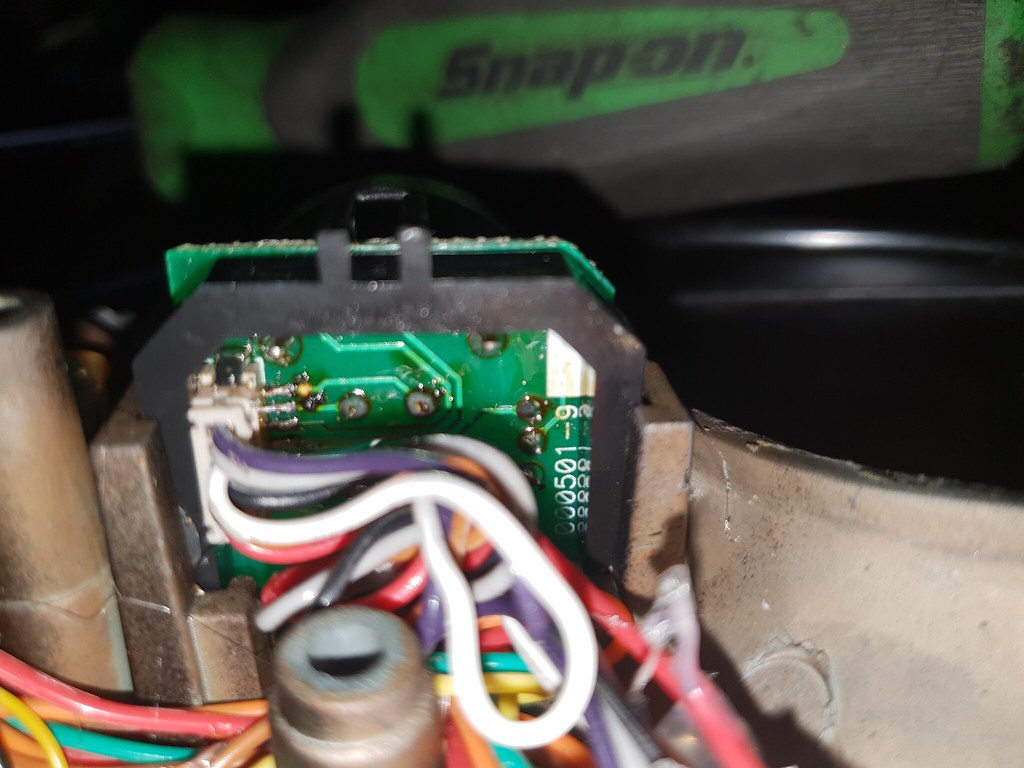
I am confused by the wiring though. The new controller board appears to assume each pot has 3 wires available to connect straight into the board. This isn't the case for the Cougar though, as the ground connections are chained at the pot ends & only 2 ground wires connect 4 axes to the original PCB, as in the image below:
tqs_diag.jpg
Will a 'none-grounded' connection at the new board still work or will I have to un-chain the pots & run individual grounds?


 Reply With Quote

 "Find out what you don't do well, and then DON'T DO IT!" - Alf


 I make one for half the price and a digital contactless sensor for the Throttle, which is also pretty popular. Have a look here:
Bookmarks